SharePatch supports three ways to create a patch link:
- paste patch text directly
- upload a patch file and edit it before submitting
- import a patch from a URL
This tutorial walks through all three in one place so you can choose the method that matches how your patch already exists.
Which method should you use?
Use text when you already have a diff in your clipboard.
Use file upload when you exported a .patch or .diff file locally and want one last edit before creating the share link.
Use URL import when the patch already lives somewhere reachable over HTTP, such as an artifact server, gist-like raw URL, or an internal build output.
All three end with the same result: an unlisted SharePatch URL you can send to reviewers.
Before you start
SharePatch expects a valid unified git diff. If you need a quick example locally, one common pattern is:
git diff main...feature-branch > changes.patchThen open SharePatch, enter a patch name, choose the method that fits your workflow, complete the CAPTCHA, and create the link.
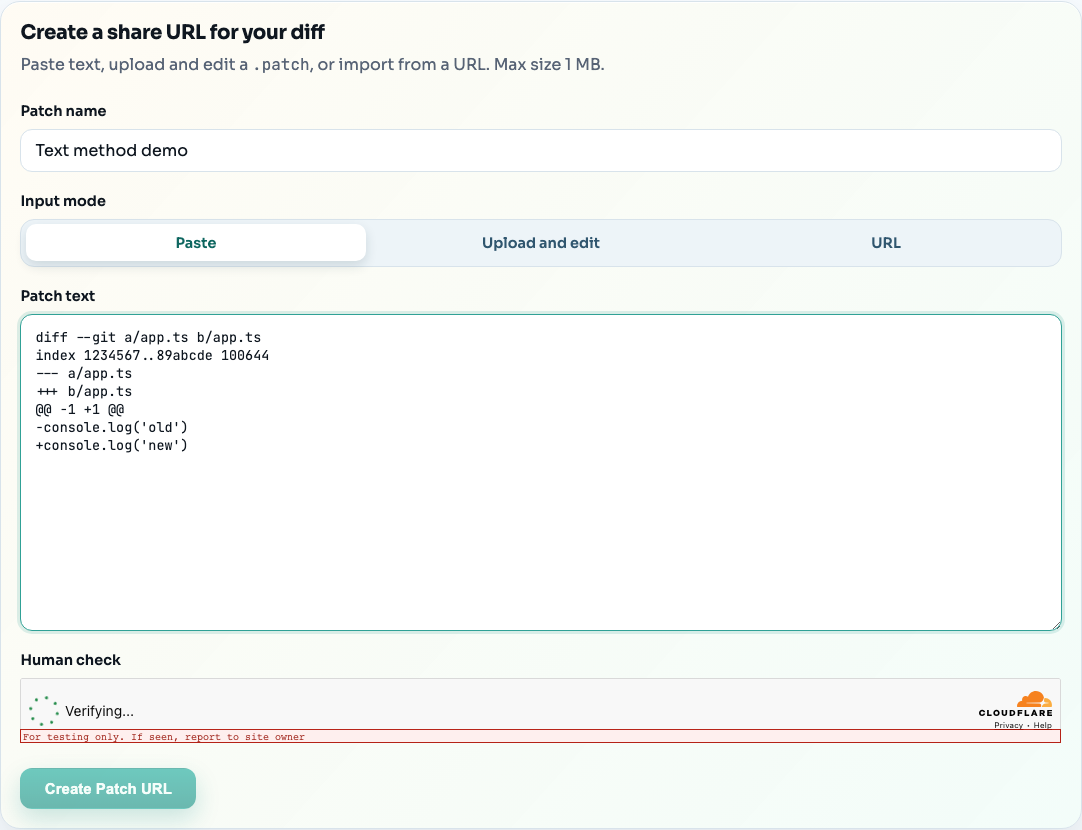
Method 1: Paste patch text
This is the fastest path when the diff is already in your clipboard.
- Open the main SharePatch page.
- Keep the input mode on Paste.
- Enter a patch name.
- Paste the unified diff into the Patch text field.
- Complete the human check and submit.
This method is best for quick one-off patches, CLI-generated diffs, or anything you copied from a terminal before sharing.
When text mode works best
- short to medium diffs
- quick review requests in chat
- cases where you do not need to preserve a local
.patchfile
Method 2: Upload a patch file and edit it
File mode is the best option when you already saved a patch file locally but still want a chance to inspect or tweak the text before publishing.
- Switch the input mode to Upload and edit.
- Select a
.patch,.diff, or plain-text patch file. - Wait for SharePatch to load the file into the editor.
- Make any edits in the text area.
- Complete the CAPTCHA and create the patch link.
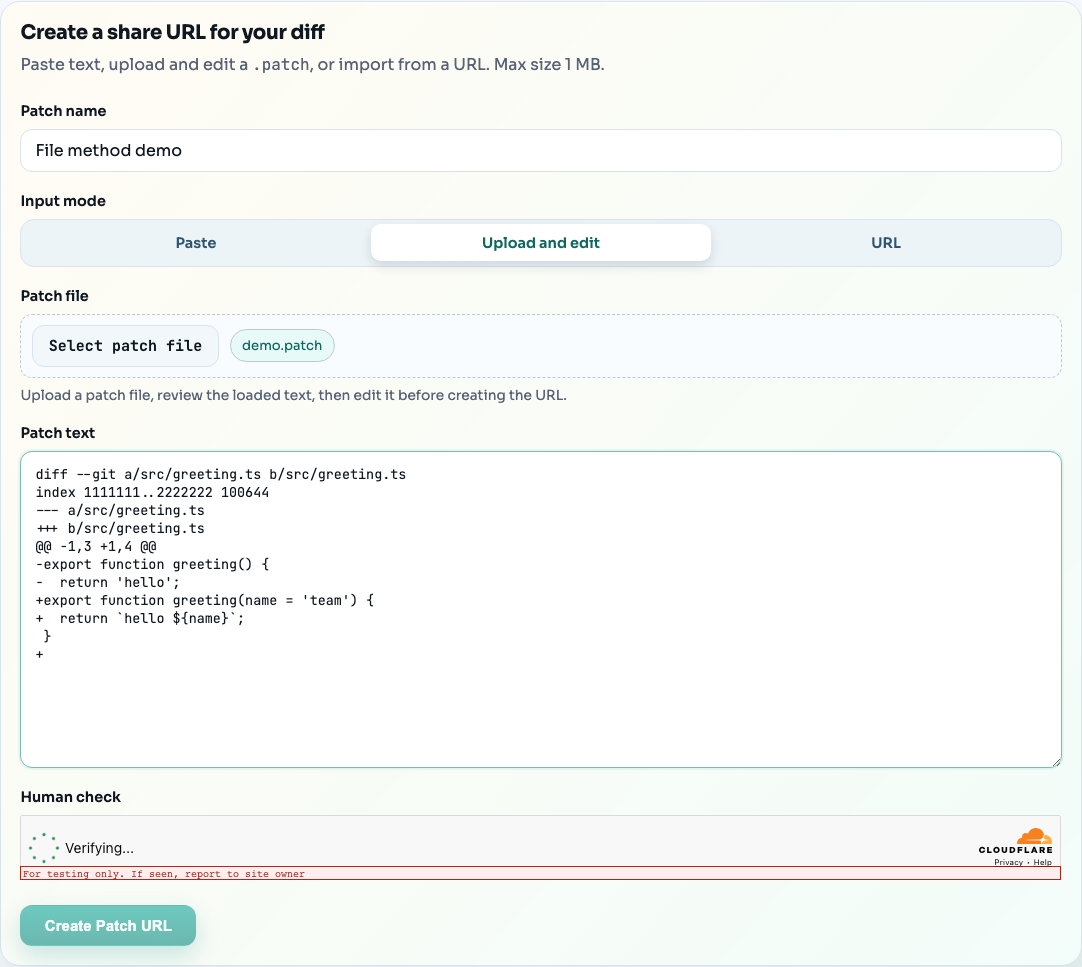
The important difference here is that the uploaded file is not the final source of truth. Once it is loaded into the editor, the editable text is what gets submitted.
Good use cases for file mode
- exported patch bundles from your local machine
- generated diff files from CI or tooling
- cases where you want to remove noisy hunks or rename the patch before sharing
Method 3: Import a patch from a URL
URL mode is useful when the patch already exists at a stable raw URL and you do not want to download it first.
- Switch the input mode to URL.
- Paste the direct URL to the patch file.
- Enter a patch name.
- Complete the CAPTCHA and submit.
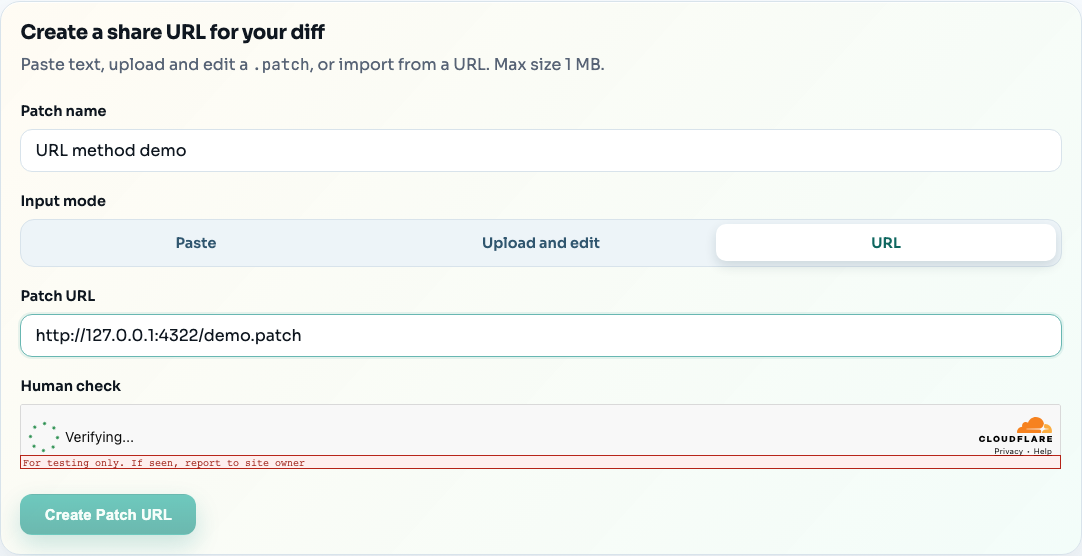
The source URL should point to the raw patch contents, not to an HTML preview page. In practice, that usually means a direct artifact URL or a raw file endpoint.
Good use cases for URL mode
- CI artifacts that expose raw patch output
- internal tooling that publishes diffs over HTTP
- repeatable handoff flows where reviewers should always open the same source artifact first
Common mistakes to avoid
Using the wrong URL in import mode
If the URL points to an HTML page instead of raw patch text, SharePatch will not be able to import it correctly. Use the raw file URL whenever possible.
Uploading a file and assuming it cannot be edited
File mode is intentionally editable. After the file loads, review the text area carefully and make changes there if needed.
Pasting something that is not a unified diff
SharePatch validates patch structure. Plain code snippets, screenshots, or commit summaries will not work unless they are actual unified diffs.
Recommended default workflow
If you are not sure which mode to choose:
- use Paste for the fastest manual flow
- use Upload and edit when you already have a file or want one last review pass
- use URL when the patch already exists remotely and should stay tied to that source
For most human-driven sharing, Upload and edit is the safest default because it preserves the convenience of files while still giving you a final editor pass before you publish.